Consulta CEP Help Document
Through this document you will be able to clear your doubts and follow the steps to use the Consulta CEP extension
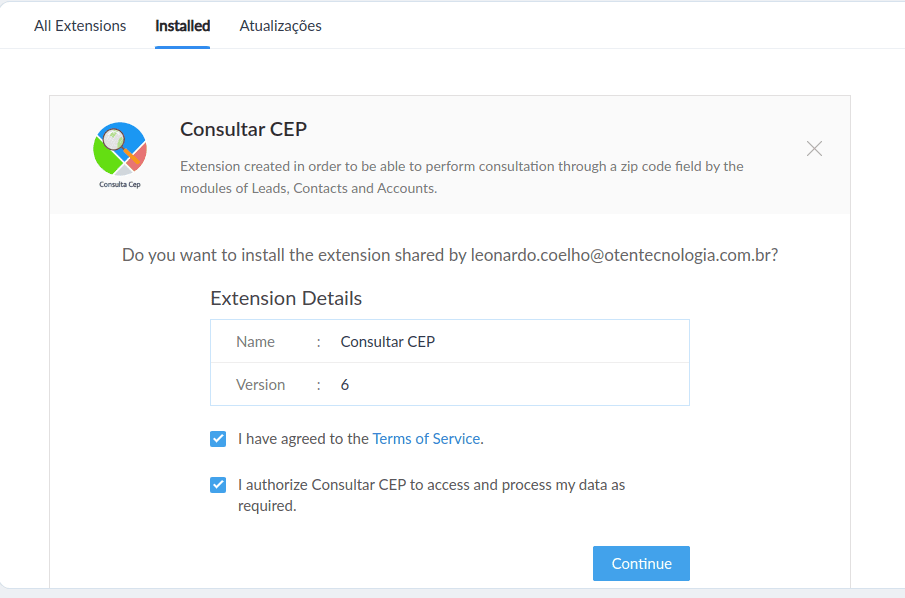
Step 1
Installation
The first step is to install the extension through the Marketplace inside Zoho CRM.
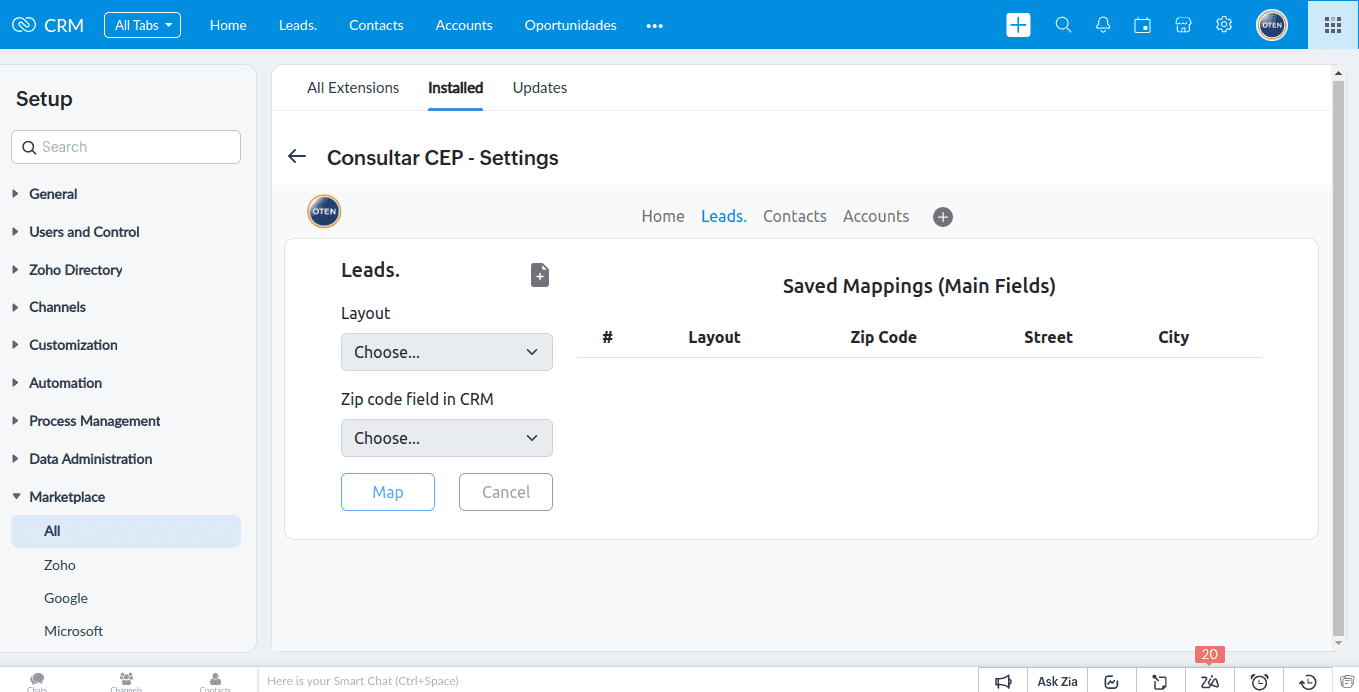
Step 2
Mapping
After performing the installation, you must map the fields that will be used.
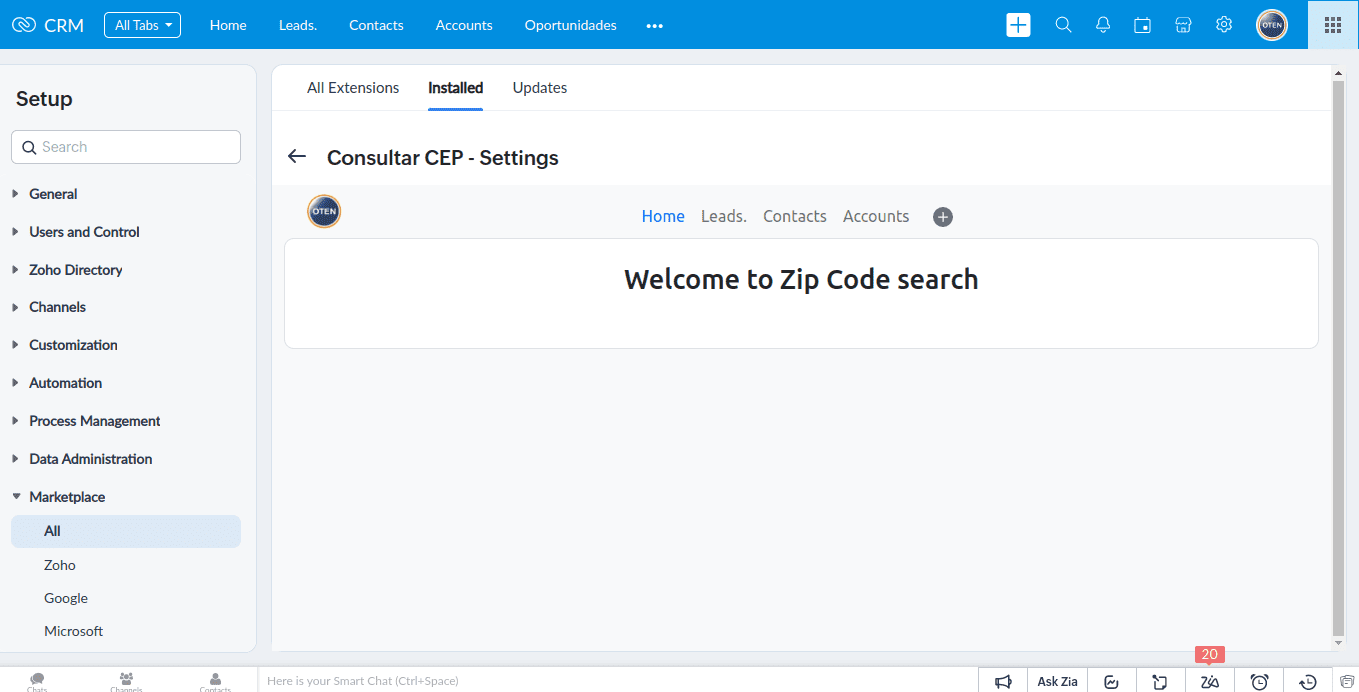
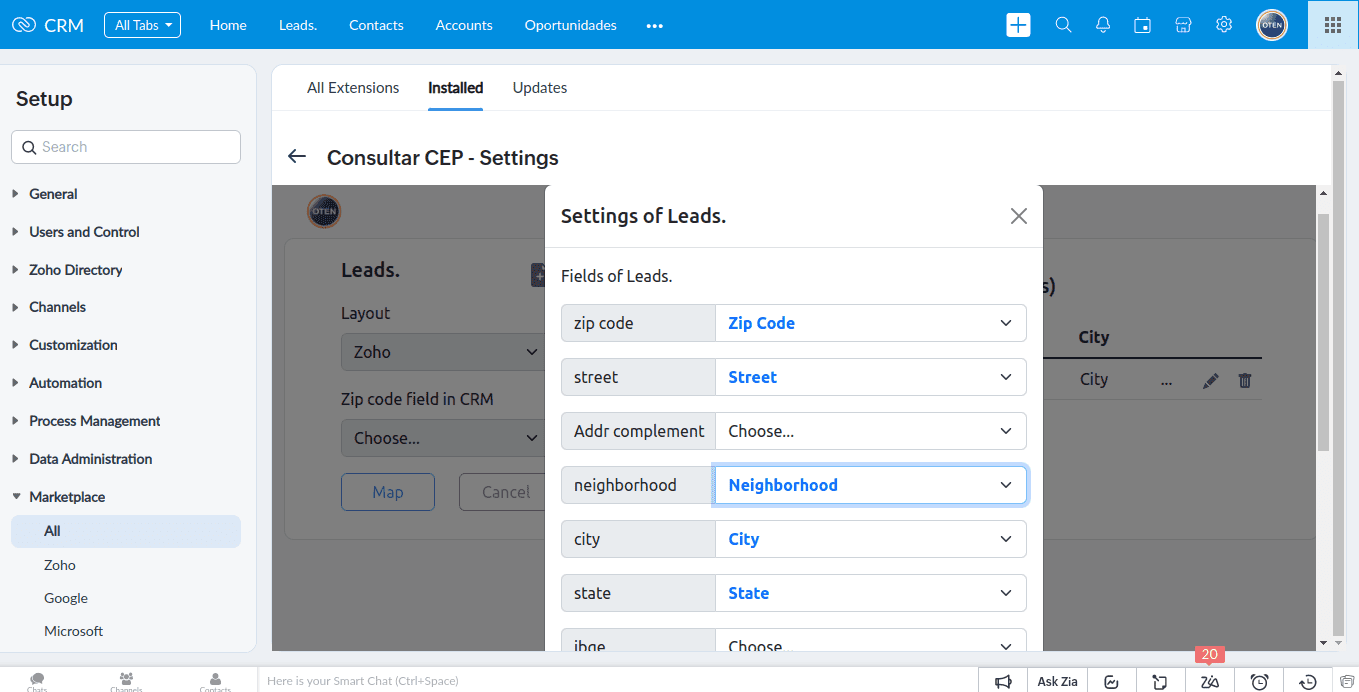
Step 3
Fields configuration
On this screen you will configure the fields for the selected module.
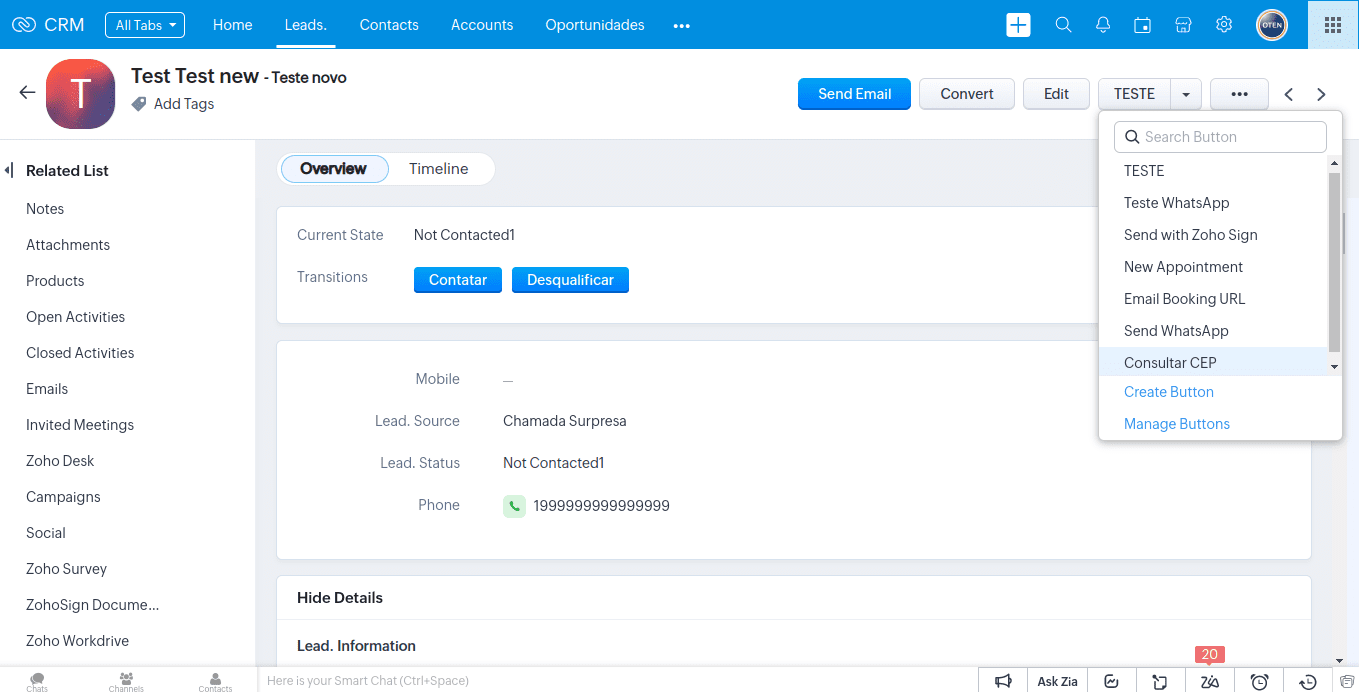
Step 4
Using the extension
The "Consultar CEP" button will be available in the Leads, Contacts and Accounts modules. You can add others modules if you wish.
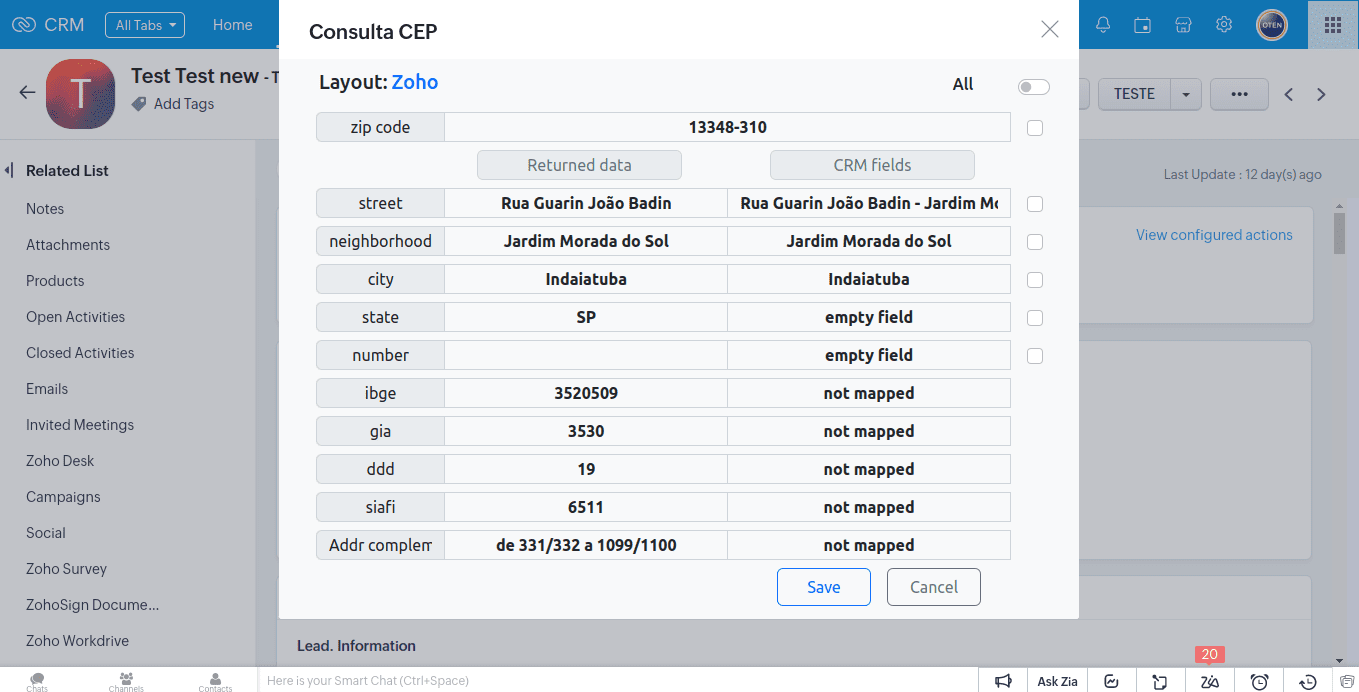
Step 5
Information
After entering the zip code, the extension will bring the related information, so you can apply the data to the mapped fields.